Onboarding guide · Chapter 11
Set up your flood reports
Commercial · admin or editor
Do this once, before your first report, in Profile › Report settings.
Letterhead
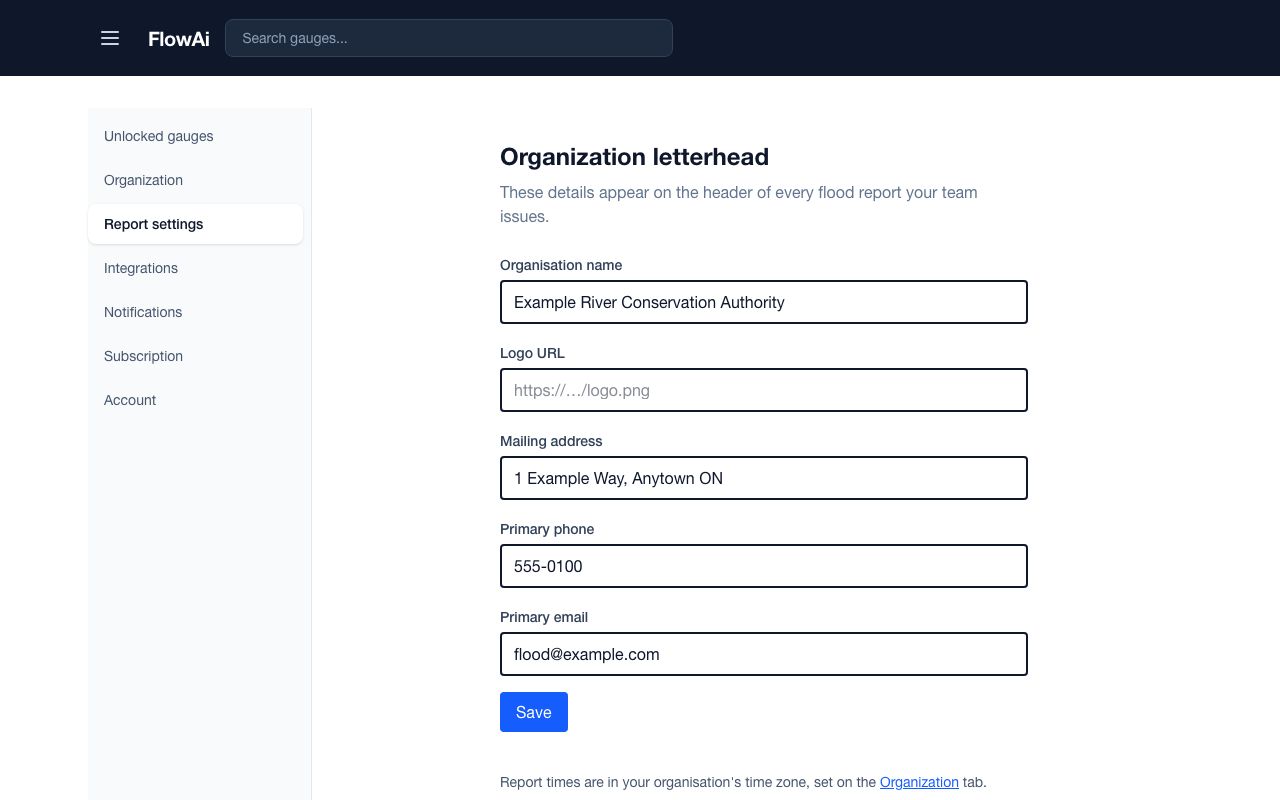
Under Organization letterhead, fill in the Organisation name, Logo URL (a link to your logo image on the web), Mailing address, Primary phone and Primary email, and press Save. They head every report.
Message levels
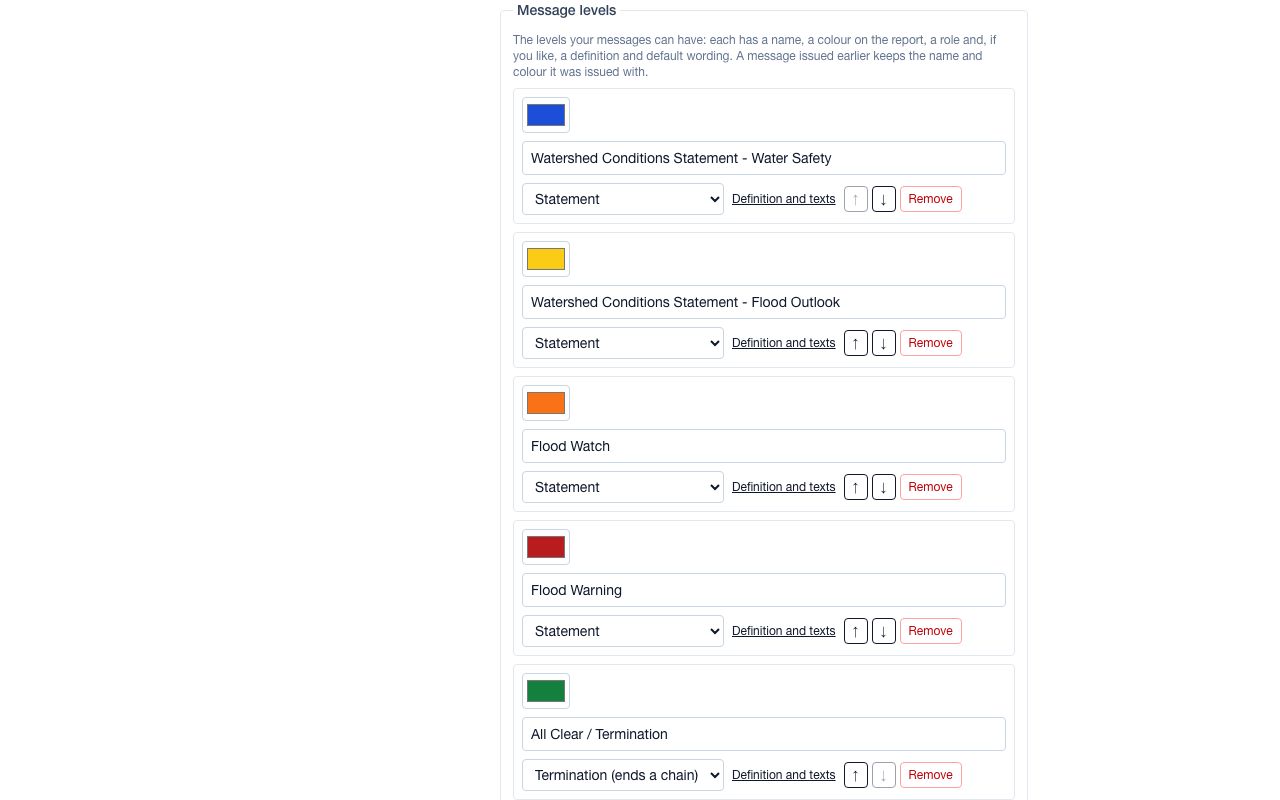
- Under Start from a preset:, choose Ontario conservation authority (Water Safety, Flood Outlook, Flood Watch, Flood Warning and All Clear) or Neutral (Statement, Watch, Warning and Ended). Applying a preset replaces your levels and wording, and saves at once.
- Adjust each level: its name, colour, role (Statement, or Termination to end a chain of messages), a one-line definition, the default summary and the default recommended actions.
- Under Sections of a new message, include, exclude and reorder the sections a new report starts with.
Header, numbering and disclaimer
- Message header: add your own header fields, choose a Labelled or Memo layout, and choose which built-in lines print.
- Wording of the message number: for example
{level} #{level_number}prints “Flood Watch #2”. Numbers restart on 1 January. - Print a disclaimer at the end of every report, with your own Standard disclaimer text or Use the standard wording.
- Second-officer review (admin): On means another admin approves every message before it is issued. The default is on when the organisation has two or more admins.
Press Save report settings when you are done.